

Martial Arts Equipment
Prepare for success in Ryukyu Shorinji Ryu Karate Association with the right equipment. The below Sources are approved by the association and will have everything you need, from uniforms to protective gear, ensuring a safe and effective training experience.
Ryukyu Shorinji Ryu Karate Association Uniform Policy
This policy establishes the official uniform requirements for all students to maintain consistency, discipline, and respect for the traditions of Ryukyu Shorinji Ryu Karate Jutsu.
Required Uniform
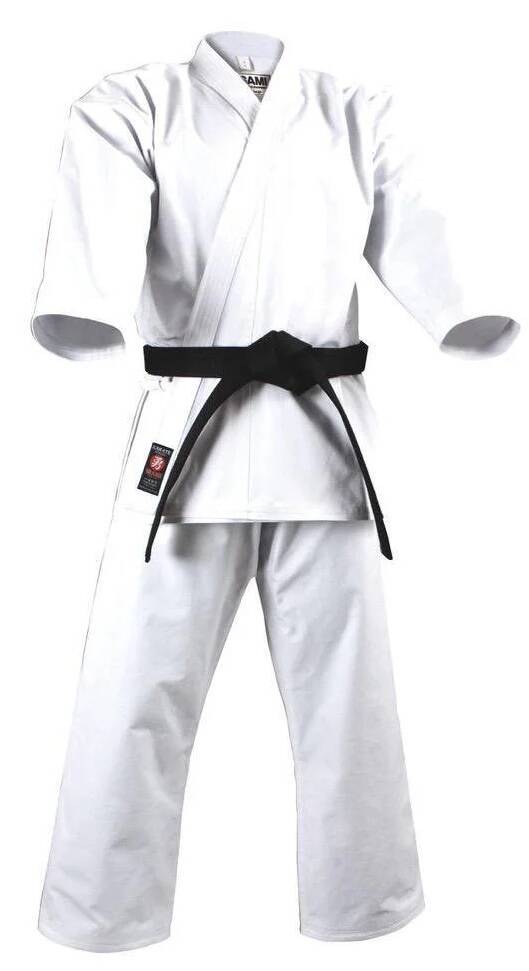
All students are required to wear a clean, well-maintained white gi during training sessions, examinations, and official school events.
Embroidery Guidelines
- The gi may be embroidered with “Shorinji Ryu.”
- Approved embroidery placement is on the left front side of the gi.
- Embroidery must be neat, professional, and appropriate in size and style.
Patches and Placement
- School Patch: Must be worn on the left shoulder.
- Lineage Patch: Must be worn on the right shoulder.
- All patches must be securely attached and properly aligned.
Compliance
Students are expected to comply with this uniform policy at all times while participating in training or representing the school. Failure to adhere to these standards may result in corrective action as determined by the instructor.
Ryukyu Shorinji Ryu Karate Association Sparring Gear Policy
This policy establishes the required sparring gear for all students to ensure safety, reduce risk of injury, and promote a controlled training environment during kumite (sparring).
General Requirement
All students participating in sparring activities must wear approved protective gear. Gear must be in good condition, properly fitted, and worn at all times during sparring.
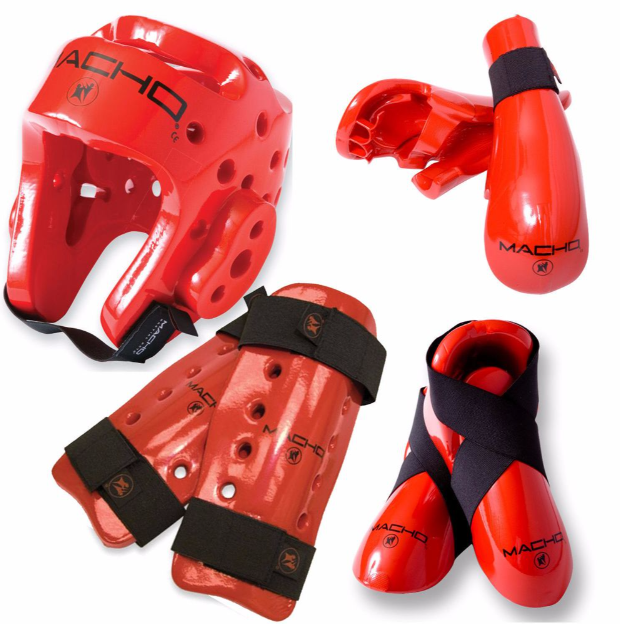
Required Sparring Equipment
The following equipment is mandatory unless otherwise directed by the instructor:
- Headgear: Protective headgear designed for martial arts sparring.
- Mouthguard: A properly fitted mouthguard must be worn at all times.
- Hand Protection: Approved sparring gloves or mitts.
- Groin Protection: Required for all male students; recommended for female students.
- Shin and Instep Guards: Protective padding covering the shin and top of the foot.
Additional Recommended Equipment
The following items are strongly recommended for enhanced safety:
- Chest protector (required for certain divisions or age groups as directed)
- Forearm guards
- Foot pads (if not integrated with shin guards)
7. Compliance
Students who do not have the required sparring gear or whose equipment is deemed unsafe will not be permitted to participate in sparring activities.
Martial Arts Suppliers
The Below supplier have been reviewed by the association and are found to be acceptable and reliable suppliers for your Martial arts needs
Makiwara
Alternative Design: The Composite Makiwara

An alternative design for the makiwara is to use a composite post. Instead of making the makiwara from one piece of lumber, we use a “sandwich” made of several layers of thin wood, usually “1×4” lumber, and bond those together, as shown
Although the composite makiwara post is considered less “traditional” than the tapered makiwara post, there are benefits to the composite design. Namely, the composite makiwara allows the karateka to tune the resistance of the makiwara. This is done by varying the length of the different layers of the “sandwich,” as well as the type of wood material from which they are made. The planks are then held to each other with straps/ties (like a leaf spring in a car suspension), or bonded to each other with wood glue. If you are using the bonding method, be sure to use glue that can survive under wet conditions outdoor (e.g., a Type II PVA glue).

Cutting the composite makiwara using a miter saw
Here are a few guidelines for designing your composite makiwara:
- Use good quality wood.
- It is better to err on the side of making the makiwara more pliable than making it too stiff. A stiff makiwara will not provide the martial artist the feedback that is so critical for benefiting from makiwara training.
- Anything more than three layers of 1×4 lumber is way too stiff.
In the photo, I am making a composite makiwara to be installed in a 4×4 post base. Hence, I am using two additional 1×4 short planks as spacers. For reference, for a fairly stiff (but not too stiff) makiwara, I used the following lengths of pine wood planks: 63″, 43″ and 24″, with a 12″ and 9.5″ spacers (160cm, 109cm, 61cm, 30cm and 24cm). I am 6″ tall (182cm), so you may need to scale those numbers to fit your height. Since the makiwara post base I am using is made for “4×4,” and five “1×4″ are 1/4” thicker than a “4×4″ (I know, those nominal lumber sizes are weird!), I made a 1/4″ recess in the shortest plank, as shown below. You can use a router or a circular saw (set the depth of the blade to 1/4”, and go back and forth over the area you want to recess.)

Note recess in the back of the composite makiwara, to allow 4 “1×4” planks to fit into a “4×4” bracket
This configuration can be placed in the ground also but be sure to coat the post with a protective coating if burying in the ground.
Now that we have our makiwara secured to the ground, let’s talk about the makiwara pad.
The Makiwara Pad


The top of the makiwara is typically covered with a pad. The traditional choice of the old masters was to use straw (hence the name maki-wara). In modern times, many people use high density foam or rubber covered by leather. You can make one yourself, for example, from a used tire or high-density closed-cell foam, or purchase one from a martial arts stores. There is even an expensive model from Shureido.
Making the leather makiwara pad is straight forward. All of the supplies can be procured from a hobby store. Cut the high density foam (or rubber) to size. Use a very thin layer of foam — you want just enough to provide a little protection for your knuckles. Too much foam will make the makiwara pad too “squishy,” which will reduce the amount of feedback you will get back from the makiwara.

Self Made Pad
is a pocket that is sewed from thick canvas. Inside the pocket, place a Ziploc bag filled with rice. The consistence of the rice is just perfect for hitting. As you use the makiwara pad, the rice will be gradually ground into flour. At that point, simply replace the content of the pad with a new batch of rice, and you are good to go again. You can also make the “pocket makiwara pad” of leather, so it can be more easily disinfected when multiple practitioners use the same makiwara.
Please seek experienced instruction on how to train with the makiwara. Properly used, the makiwara promotes good joint alignment and proper power generation in the martial artist. Improper use of the makiwara can lead to injuries, including long term injuries. Do yourself a favor and get some help on proper use of the makiwara.
For the most part, training with the makiwara is about learning to “listen” to the feedback that the makiwara provides, especially in the back-pressure it provides, and where that back pressure manifests in the martial arts practitioner’s body. With proper training, the back-pressure will dissipate through the practitioner and into the ground. It’s usually not about how hard you can hit the makiwara (almost any martial artist can produce enough power to break a makiwara), but rather about proper alignment and power generation, and how generating that power “feels.”
If you run into trouble building your makiwara, or if you have any other questions, feel free to post them on the comment below.